Following from my previous post about implementing assets, this post will talk about implementing texture assets and 3d models into Snofyr.
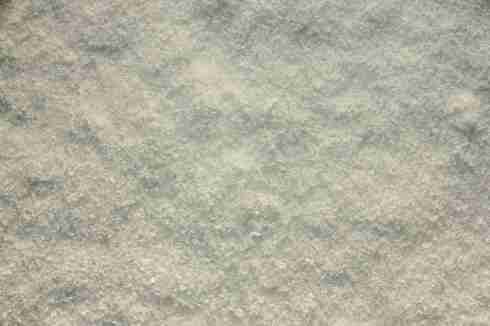
Snow Texture
First, I went about getting a snow texture. Snofyr is a lighthearted and cartoony game, so the texture had to fit this aesthetic. I ended up grabbing a sample of a painting that we could use.

Next, I had to make this tile properly over a large area. <y logic was telling me that because the middle of the texture already matches up (obviously) then if I make the middle become the outside, then I can work from there. So I split the texture into quarters, and moved them vertically and horizontally.

I just then had to use the clone tool in photoshop to mask the lines, making sure to not touch the edges, and the texture loops fairly seamlessly.

Snowball
Next the snowball texture. I knew this would be trickier due to the way that spherical shapes squish textures at the globe. Following this tutorial, created the following:

This was done by using Photoshop’s Polar Coordiantes distort function. You take the image, polar distort it then use the clone tool to tile the texture together.
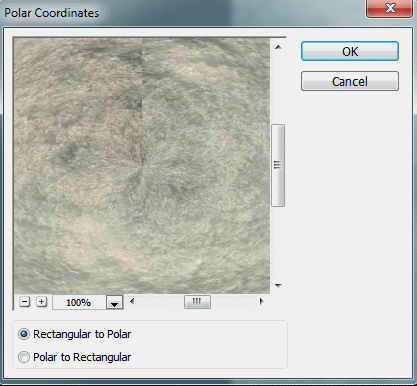
You then use the Polar to Rectangular option, flip the image vertically, then repeat the process. You end up with a texture that scales well on a sphere.
